Reading Mandolin Chord Diagrams
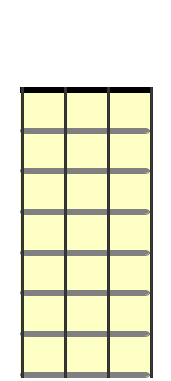
Mandolin chord diagrams can be confusing at first glance. However, instead of trying to “figure out” the diagram, just pretend it’s a mandolin. Imagine the diagram as a mandolin neck held upright. Check out this picture for example.
 |
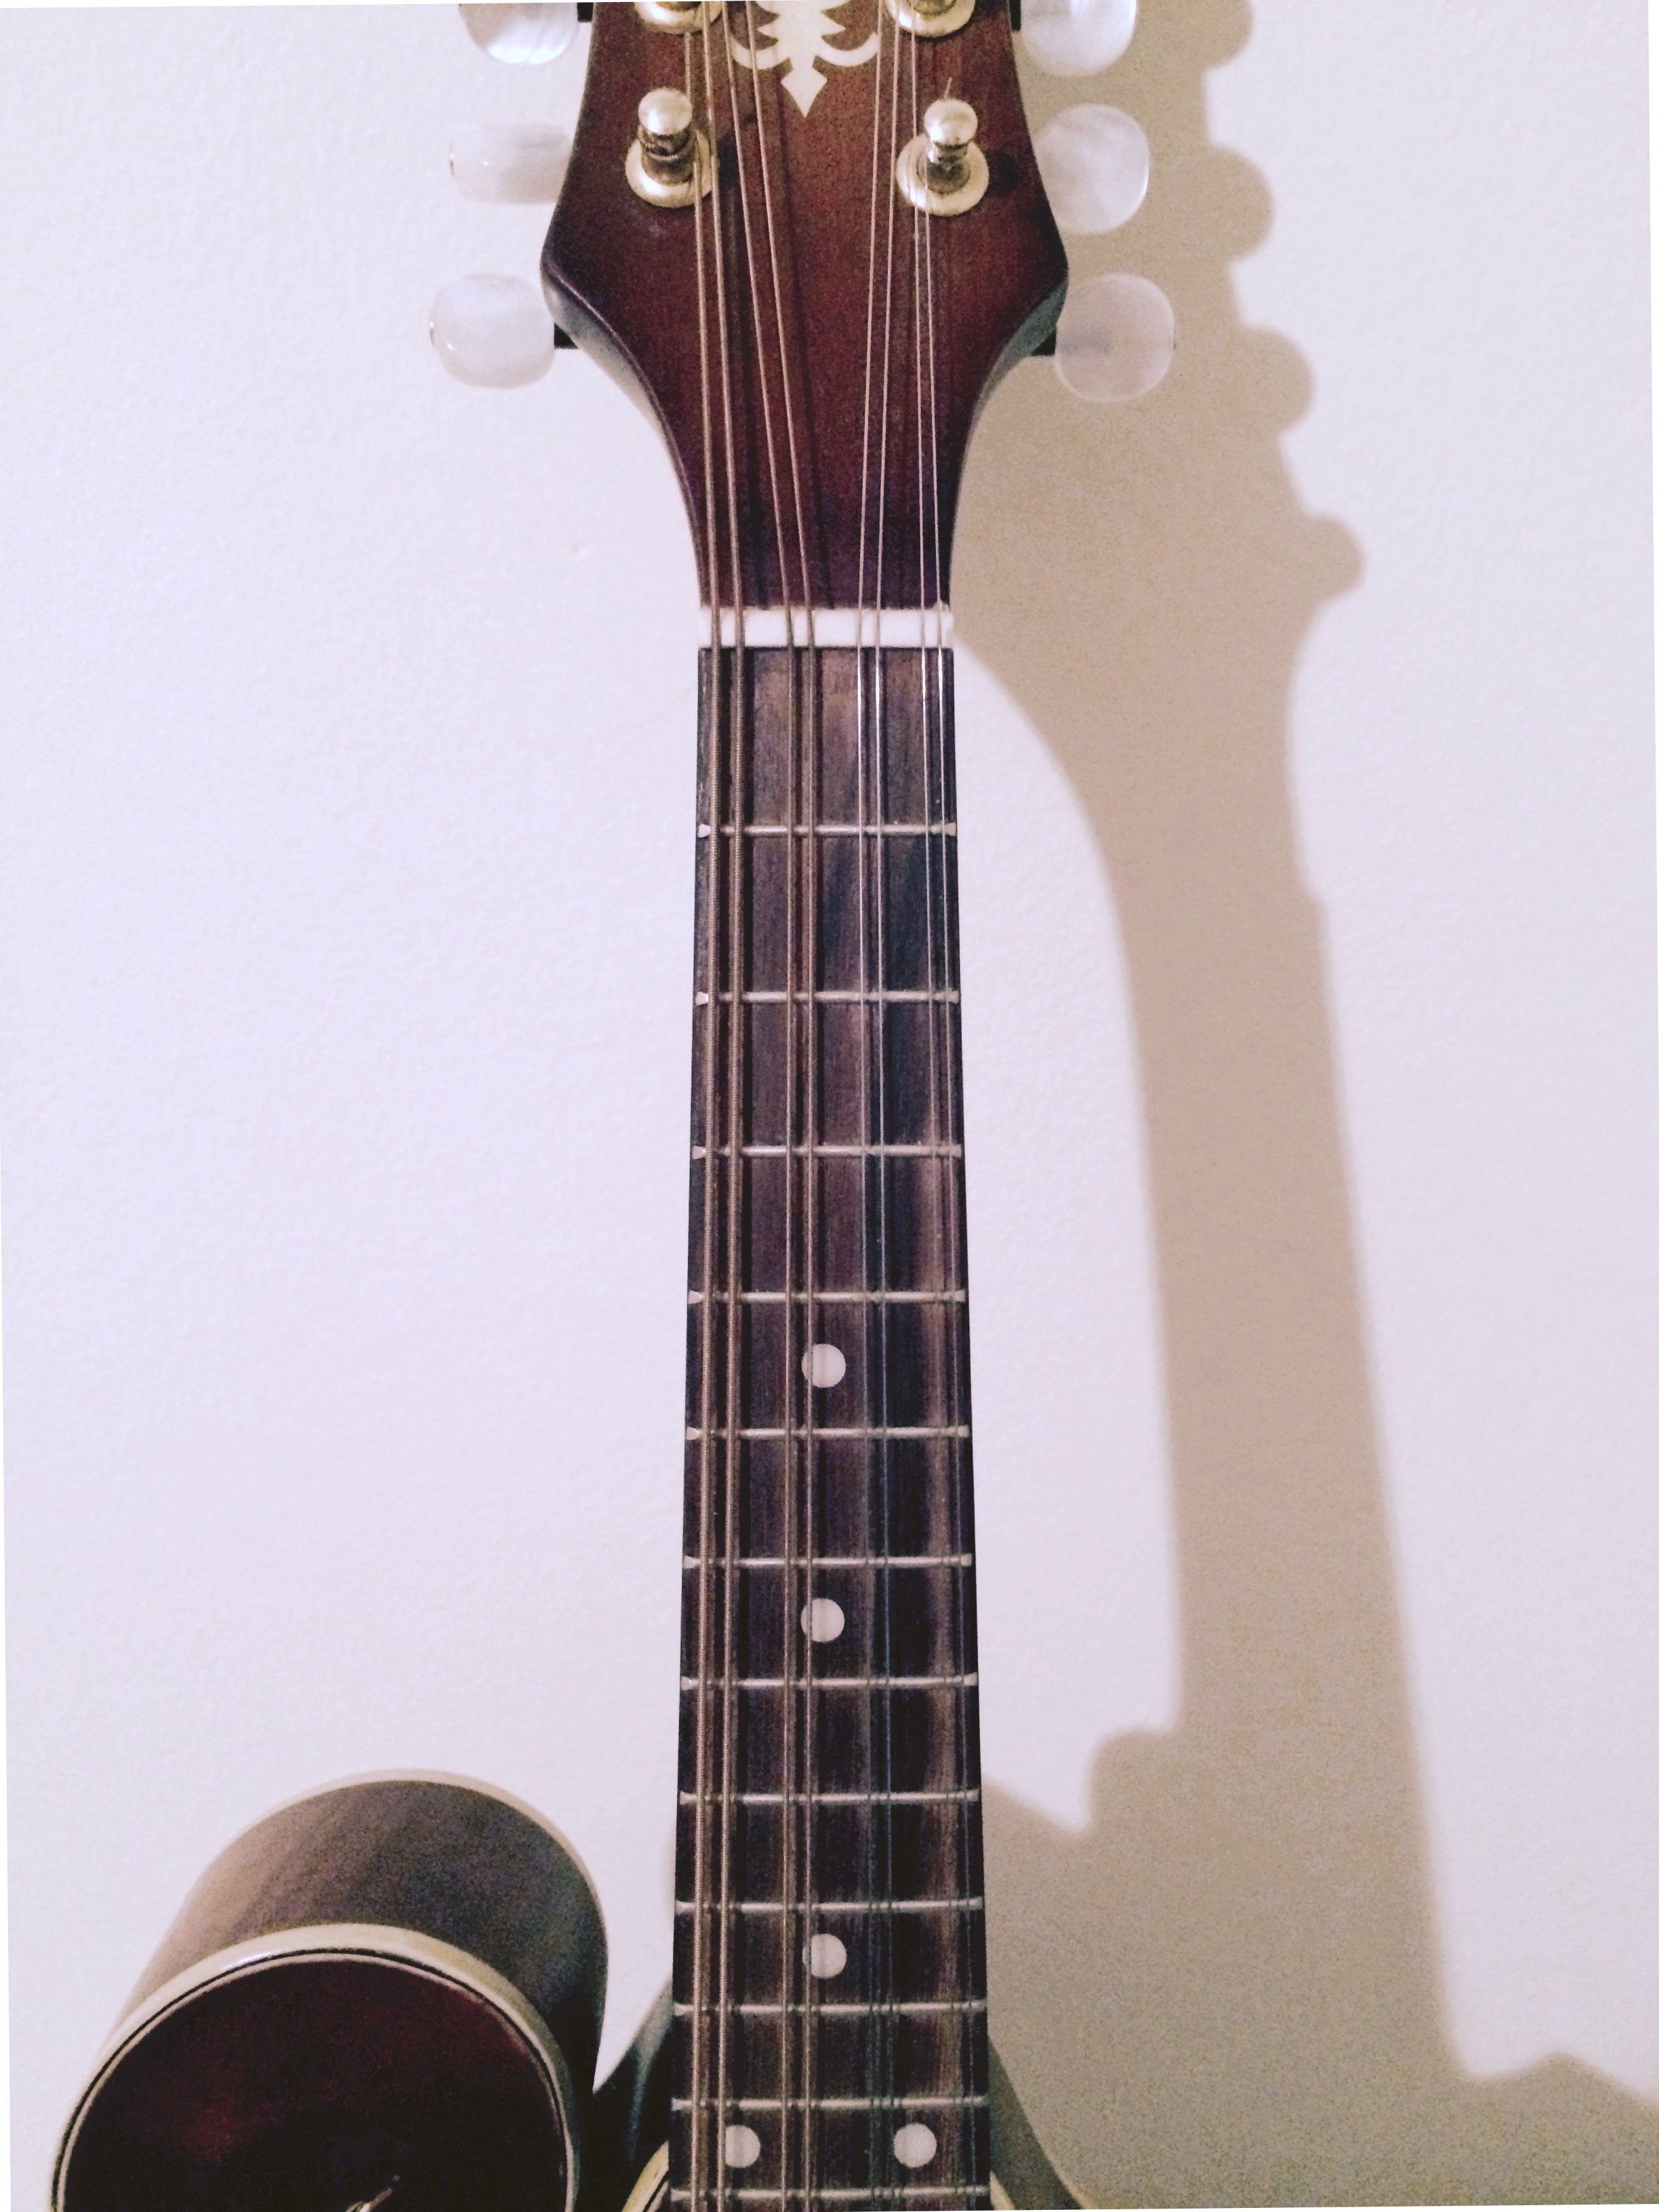 |
The 4 vertical lines will represent the four strings on a mandolin, G D A E, from left to right. (Yes, I know that the mandolin has 8 strings, but since they are tuned in pairs* we always talk about them in pairs, so we’ll say that it has 4.) The big horizontal line at the top is the “nut” of the mandolin where the fretboard starts. The horizontal lines below that are the frets of the instrument.
Notes
|
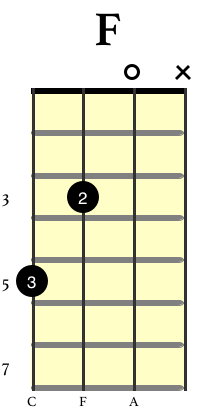
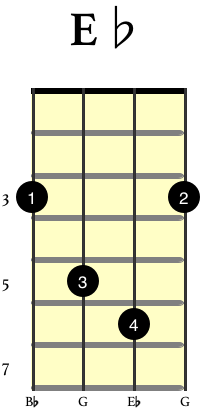
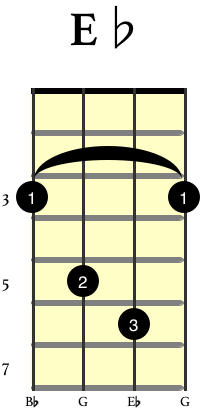
The black circles are where we put our fingers. The numbers inside the circles tell you which fingers to use: 1 for index, 2 for middle, 3 for ring, and 4 for pinky. |
 |
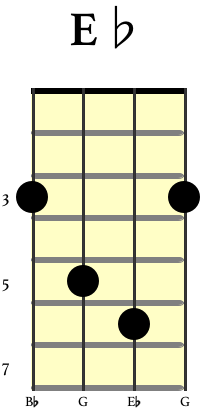
Sometimes chord diagrams don’t tell you which fingers go where, just the places where we are going to press the strings down. This is because sometimes there is more than one way to play a particular chord, and we might use one way or another depending on the situation. In this case, which way should you play it? Just take a guess, or try several ways and see which one works best. You’ll find that the more you do this, the better you get at guessing! This is because your fingers are intuitively learning the most efficient way to get from one chord to another.
 |
 |
 |
Open Strings
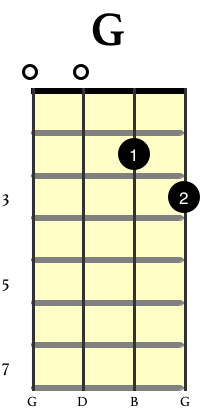 |
If you see an empty circle above the nut on a particular string, it means that we will play that string open, meaning we don’t put a finger on it. You don’t have to do anything special here, just play the string as you’re strumming the chord, and make sure your fingers aren’t touching that string, and it should come out clear. |
Muted Strings
|
If you see an X on a string, it means we will either not play that string at all, or we will mute that string*. Check out this page to learn more about muting. Usually muting is way easier than trying to dodge a particular string. When we mute one of the strings, we can just play all four strings like we normally would and the unwanted one doesn’t sound. It’s weird at first, but once you get the hang of it, muting will come naturally and you won’t have to think about it. |
If you see numbers on one side of the neck, those are telling you which fret numbers those are. Usually these are unnecessary in beginning chords, but I include them anyway just for clarity. We normally find these in higher positions where the regular diagram would run out of frets.
If you see letters at the bottom of the diagram, those are telling you the names of the actual notes you are playing. NOT the names of the strings, but the actual notes you are playing on those strings.(Sometimes people will put the names of the strings at the top of the diagram, but after you've been playing for a few days you don't need them anymore and they just get in the way, so I just do without them altogether.)
That about covers it for mandolin chord diagrams.
If you have any questions feel free to Contact Me. If you have any tips on this, share them below!
Have any Tips we should know about?
Have any great tips on reading mandolin chord diagrams? How did you learn? Share it with everyone!